Many books and articles about landscape photography advocate using a wide-angle lens and a low camera position. Certainly wide-angle lenses have their place in landscape photography (though they are not, by any means, the only choice). And getting a wide-angle lens low to the ground and close to some foreground objects can create an exaggerated near-far perspective that gives the photograph a sense of depth.
But a low camera position can also foreshorten the foreground and middle-ground, scrunching them together and merging objects that could and should be separated visually. A higher camera position can often create better separation and spacing between foreground and middle-ground objects, and a better flow to the composition.
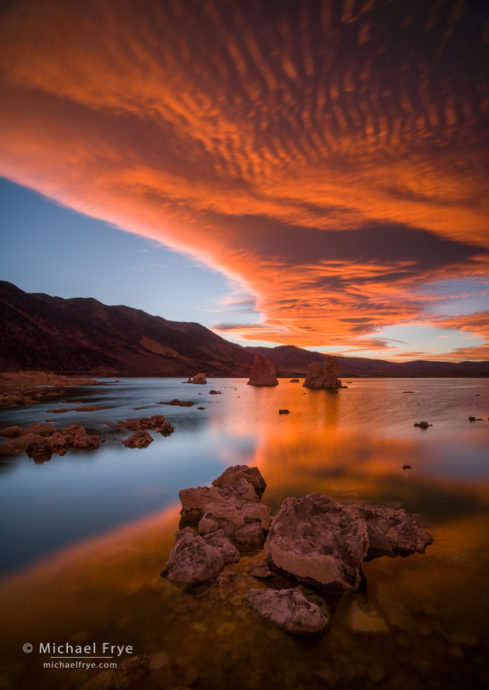
Two photographs from Mono Lake might help show what I’m talking about. I made these earlier this summer when some clouds appeared out of nowhere in the middle of a stretch of clear, dry, cloudless weather. In the first of these images (above) there was a spectacular sunset going on above the lake. I might have preferred to have just water and reflections in the foreground, with no rocks, but that wasn’t an option: there were too many rocks, and no way to keep all of them out of the frame if I wanted any water at all in the picture. So I had to work with the rocks, and find a way to incorporate them into the composition.
Choices of camera position were limited, but I found a cluster of rocks that lined up well with the cloud and two larger tufa formations in the distance, and decided to use those rocks as my foreground. But if I lowered the camera the rocks would have blocked some of the reflection of the cloud. Instead, I raised the tripod as high as possible in order to include as much of the cloud-reflection as I could between the foreground rocks and the distant tufa towers.
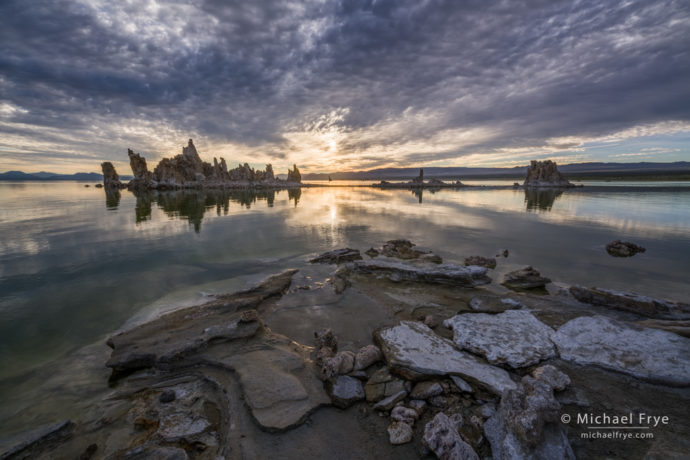
In the second photograph (below), I put the camera about a foot below my eye level. Lowering the camera just that much made the foreground rocks more prominent, but I still needed to keep the camera high enough to show the triangular shape of the foreground formation, and to look over that foreground to see the reflection of the sun and its surrounding clouds. Again, I needed the foreground rocks and the reflection of the sun to be separate visual elements, and a lower camera position would have caused them to bleed into each other. Also, I really liked the way that triangular foreground echoed the V-shaped clouds – an effect that would have been lost if the camera were lower.
The closer the foreground, the more critical the camera height becomes. An inch or two higher or lower can make a big difference. Try taking the camera off the tripod for a minute while you figure out exactly where you want the camera to be, and then set up the tripod in that spot at the right height.
But don’t automatically assume that lower is better. Sometimes a low camera position works, but in many cases you need to get the camera higher to see over the immediate foreground and create separation between foreground elements, and between the foreground and the middle-ground.
— Michael Frye
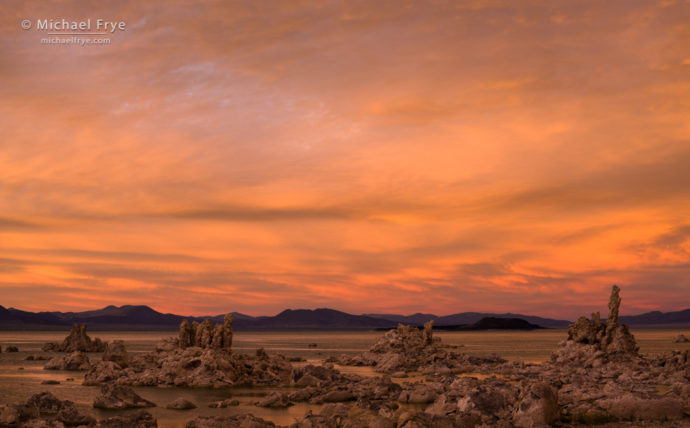
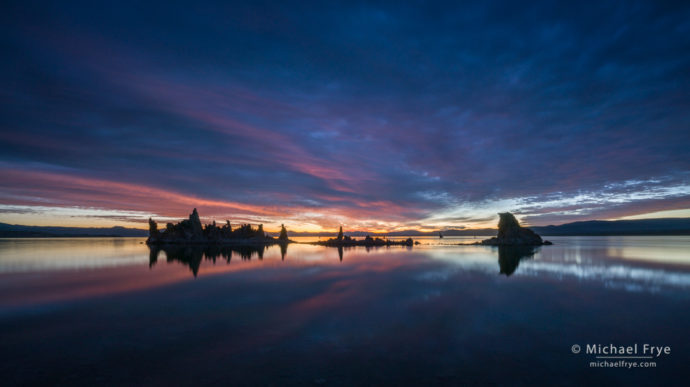
P.S. I’ve included two more photographs below from when those clouds appeared over Mono Lake. They don’t relate to the topic at hand – camera height – but I thought you might enjoy seeing them anyway.
Related Posts: Knowing Where to Stand; When Separation is a Good Thing; When Should You Include a Foreground in a Landscape Photograph?
Michael Frye is a professional photographer specializing in landscapes and nature. He is the author or principal photographer of The Photographer’s Guide to Yosemite, Yosemite Meditations, Yosemite Meditations for Women, Yosemite Meditations for Adventurers, and Digital Landscape Photography: In the Footsteps of Ansel Adams and the Great Masters. He has also written three eBooks: Light & Land: Landscapes in the Digital Darkroom, Exposure for Outdoor Photography, and Landscapes in Lightroom: The Essential Step-by-Step Guide. Michael has written numerous magazine articles on the art and technique of photography, and his images have been published in over thirty countries around the world. Michael has lived either in or near Yosemite National Park since 1983, currently residing just outside the park in Mariposa, California.


Thank you very much, Michael. Very clear and to the point, with wonderful images. Can you say what the focal length in the first two images was, as a point of reference?
Lenya
Thanks Lenya! They were both 16mm.
I love all of your images, but the one at the top of this page…WOW!!!
Thank you Nicolaas!
Great info here Michael. Love your wonderful California photos.
Thanks Terry!
Hi Michael,
Wonderful pictures and very good idea. I learned it, thank you.
Michael,
Beautiful images!
If I recall correctly, Ansel Adams often placed his tripod on a platform he installed on top of his vehicle. Now that’s high angle photography! Of course that only works if one can maneuver a vehicle to the proper location and still respect the environment.
Thanks James! Yes, Ansel did often use a platform on top of his car. But as you point out, there are limits to where you can go with that setup. You could also carry a really high tripod and a stepladder – but again you wouldn’t be able to carry that setup very far.
When I was shooting large format (5×4 or 6×17), I used to walk round with a viewing scope to decide on the composition and angle of view before setting up the tripod and getting out the camera. I think that was a very useful process to fully explore alternatives.
That’s a great idea Murray. It’s pretty much essential with a 4×5, since it takes longer to set up the camera, but anything that can help you visualize the composition before setting up the tripod will help with any camera. I know many people who use a simple rectangular cardboard cutout to help preview their compositions.