by Michael Frye | Aug 7, 2011 | Advanced Techniques, Night Photography

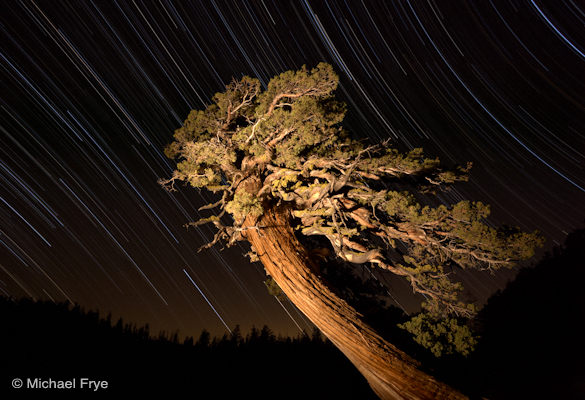
Juniper and star trails near Olmsted Point, Yosemite
Here’s a new image, made last Tuesday evening near Olmsted Point in Yosemite. My friend Mike Osborne calls this the “Bowsprit” tree. What? I didn’t get it either until he explained that a bowsprit is the bent figure with arms splayed back at the bow of old sailing ships. Okay, yeah, this does sort of resemble that.
Anyway, I “painted” this wonderful tree with a flashlight, and used the image-stacking technique to get noise-free star trails. With image stacking the idea is to take a series of short exposures and blend them together, rather than doing one long one. The total exposure time here is about 90 minutes, but one exposure that long would end up being quite noisy. Instead I took 24 four-minute exposures, with only a one-second interval between them. So each of those four-minute exposures has little noise.
(more…)
by Michael Frye | May 11, 2011 | Advanced Techniques, Yosemite Photo Conditions

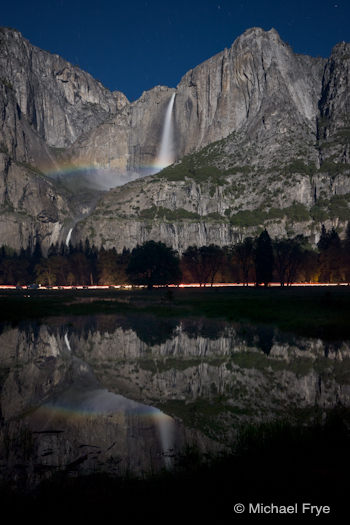
Lunar rainbow on Upper Yosemite Fall from Cook’s Meadow, May 2009
A full moon is coming up—Tuesday, May 17th, at 4:08 a.m. There should be plenty of spray in Yosemite Falls, so once again it should be possible to photograph a lunar rainbow, and I expect that many photographers will be in Yosemite trying to do just that. If you’re one of those people, last year I wrote some lunar rainbow photography tips that you might find helpful.
To learn the best times for photographing the moonbow, visit Don Olson’s web site. Good luck!
by Michael Frye | Jan 6, 2011 | Advanced Techniques, Digital Darkroom, Photography Tips, Video Tutorials
White Balance for Landscape Photographs – Part 3: A Special Problem from Michael Frye on Vimeo.
Here’s the third part of my video series on white balance, where I present solutions to a common problem in landscape photographs—finding the right white balance when mixing low-angle sunlight with blue sky.
If you haven’t seen them already, here are links to Part 1 and Part 2.
To see this video clearly, be sure that “HD” is on (the letters “HD” should be white instead of gray; if not, click on them), and click the “expand” icon just to the right of “HD.”
Hope you find this helpful; I look forward to hearing your comments! And if you like the video, please share the link.
by Michael Frye | Dec 17, 2010 | Advanced Techniques, Photography Tips

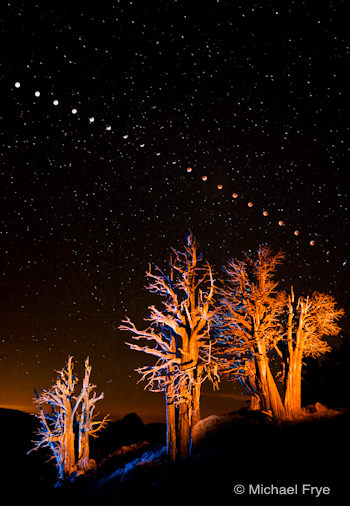
Lunar Eclipse Sequence, 1:23 a.m. to 4:49 a.m., August 28, 2007
Before getting to the topic at hand, I want to thank all of you for your support in launching my new eBook, Light & Land. The first day’s sales were amazing, off the charts, so thanks to all of you who bought a copy. And if you haven’t purchased it yet, there’s still time to get 20 percent off. See my last post for details.
So on to the eclipse… I was honored to have this lunar eclipse photo recently selected for the Natural World Exhibit at the Center for Fine Art Photography in Fort Collins Colorado. By coincidence, there will be another full lunar eclipse Monday Night—an opportunity to try making your own eclipse photograph.
Now here in California there are lots of dire weather forecasts for the next few days, with predictions of five to ten feet of snow above 7000 feet in the Sierra Nevada, and five to ten inches of rain in the foothills and Yosemite Valley. Minor flooding is possible. So there’s a good chance that we won’t see Monday night’s eclipse at all. But you never know—all it takes is a small break in the clouds. And those of you in other parts of the world may have perfect weather for this event. To see where and when the eclipse will be visible (weather permitting), visit the NASA web site. (more…)
by Michael Frye | Jul 27, 2010 | Advanced Techniques, Digital Darkroom, Video Tutorials

Vision is the most important part of photography. Your eye is what makes the difference between a great photograph and a mediocre one.
But when realizing your vision and making it come to life in the final image, getting the right color is vital.
Recently I posted two videos about using curves in Photoshop, Lightroom, and Camera Raw. But there’s a more fundamental step that I haven’t talked about, something you might want to do with Raw files before adding curves, correcting white balance, or doing anything else: choosing a profile.
What is a Camera Profile?
A camera profile is a translator: it’s translates the colors that a camera captures into the colors they should be. In other words, if a certain camera tends to turn reds into orange, the profile will correct for that and convert those reds back to their proper hue. Of course there’s no such thing as “correct” color—it’s all subjective. So profiles can come in different flavors: more saturated, less saturated, more contrasty, etc. Choosing the right flavor for your image is the first step toward making your visualization come to life.
I’ve posted a new video on YouTube that delves into this seemingly esoteric yet actually quite simple subject. In it I show you how to choose different profiles in Lightroom, and explore whether creating a custom profile might be worthwhile. I evaluate some profiles I made with the X-Rite ColorChecker Passport, a $99 package for making custom camera profiles in any lighting situation. Yes, full disclosure, they actually gave this to me for free—I must be hitting the big time!
Also, there’s one more reason for exploring different profile options: reducing noise, banding, and posterization. I show an example where the profile choice made a dramatic difference in noise and banding.

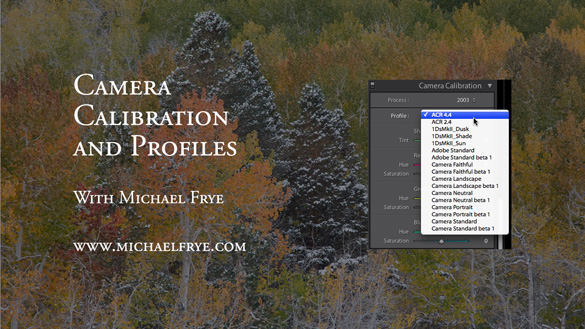
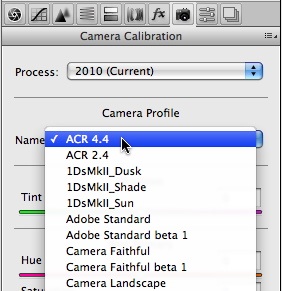
I didn’t have time to demonstrate it in the video, but the same profile choices are also available in Adobe Camera Raw—just look under the Camera Calibration tab, third from the right, as shown here.
So here’s a link to the video:
Camera Calibration and Profiles
As always, it helps to view this at the highest resolution, 480p, and click on the double-sided arrow to make the video larger.
I hope you enjoy it! Comments are always appreciated, and if you like video, please share it with a friend: Email this article, or click on one of the buttons below to post it on Facebook or Twitter.
by Michael Frye | Jul 6, 2010 | Advanced Techniques, Digital Darkroom, Video Tutorials

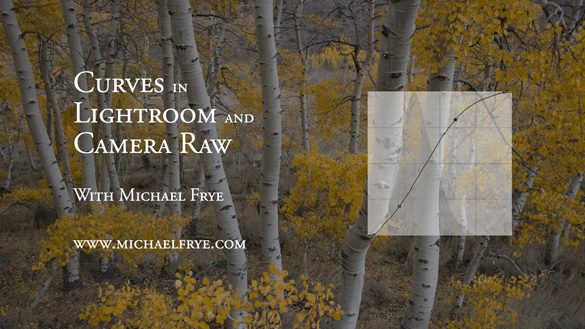
Curves in Lightroom and Camera Raw
As promised, I’ve posted another tutorial on YouTube about Curves in Lightroom and Adobe Camera Raw. In this video I examine the default settings in these applications, and why you should avoid using them—at least sometimes. These defaults actually apply three curves to your image before you even start processing it. Watch the video to see what’s really going on “under the hood” with the settings in Lightroom and Camera Raw.
Again I had to break this into two parts; here are the links:
Curves in Lightroom and Camera Raw – Part 1
Curves in Lightroom and Camera Raw – Part 2
 I hope you enjoy these—comments are always welcome! To see everything clearly you need to view in high resolution—click on where it says 240p or 360p in the lower-right corner and choose 480p. Also, if you click on the little double-sided arrow you’ll see the video larger.

